
What is it?
Image Stabilisation is probably one of the least understood photographic advances there is. The image stabilisation systems across camera models differ in how they work (some move parts in the lens, others move parts in the camera body), but their common aim is to move parts of the camera in the same way you do when holding your camera (unsteadily) so that you get less blurry photos. This feature is also known as, Vibration Reduction (VR), Optical Stabilsation (OS), Vibration Correction (VC) , Optical Steady Shot (OSS) and many more.
How do I use it on my camera?
Usually there is a switch on the lens to turn it on. Some camera-based systems may have a menu to turn it on.
What does it do to my pictures?
By moving the parts in your equipment as you move, image stabilisation allows you to take a picture at a speed slower than you might otherwise be able to.
The general rule for being able to hand hold a camera and get sharp picture, is using a shutter speed of 1/ length of lens. So for example, using a 100mm lens would mean you would need to shoot at 1/100th of a second to stop the whole image from blurring. Assuming that the entire picture is stationary then all the picture should be sharp. As it is a general rule, some people with shaky hands may not be able to get these results, and some people with very steady hands may be able to shoot slower than that and still get sharp pictures.
So if a lens which has image stabilisation suggests that it will be able to gain 2 stops, what that actually means is that with your 100mm lens, instead of being able to hold 1/100th (as the above rule), with image stabilisation active you would be able to hold 1/25th of a second.
This is all well and good if your subject is stationary, but if you are photographing a person, or people, this would be too slow unless you asked them to stay VERY still.
Examples
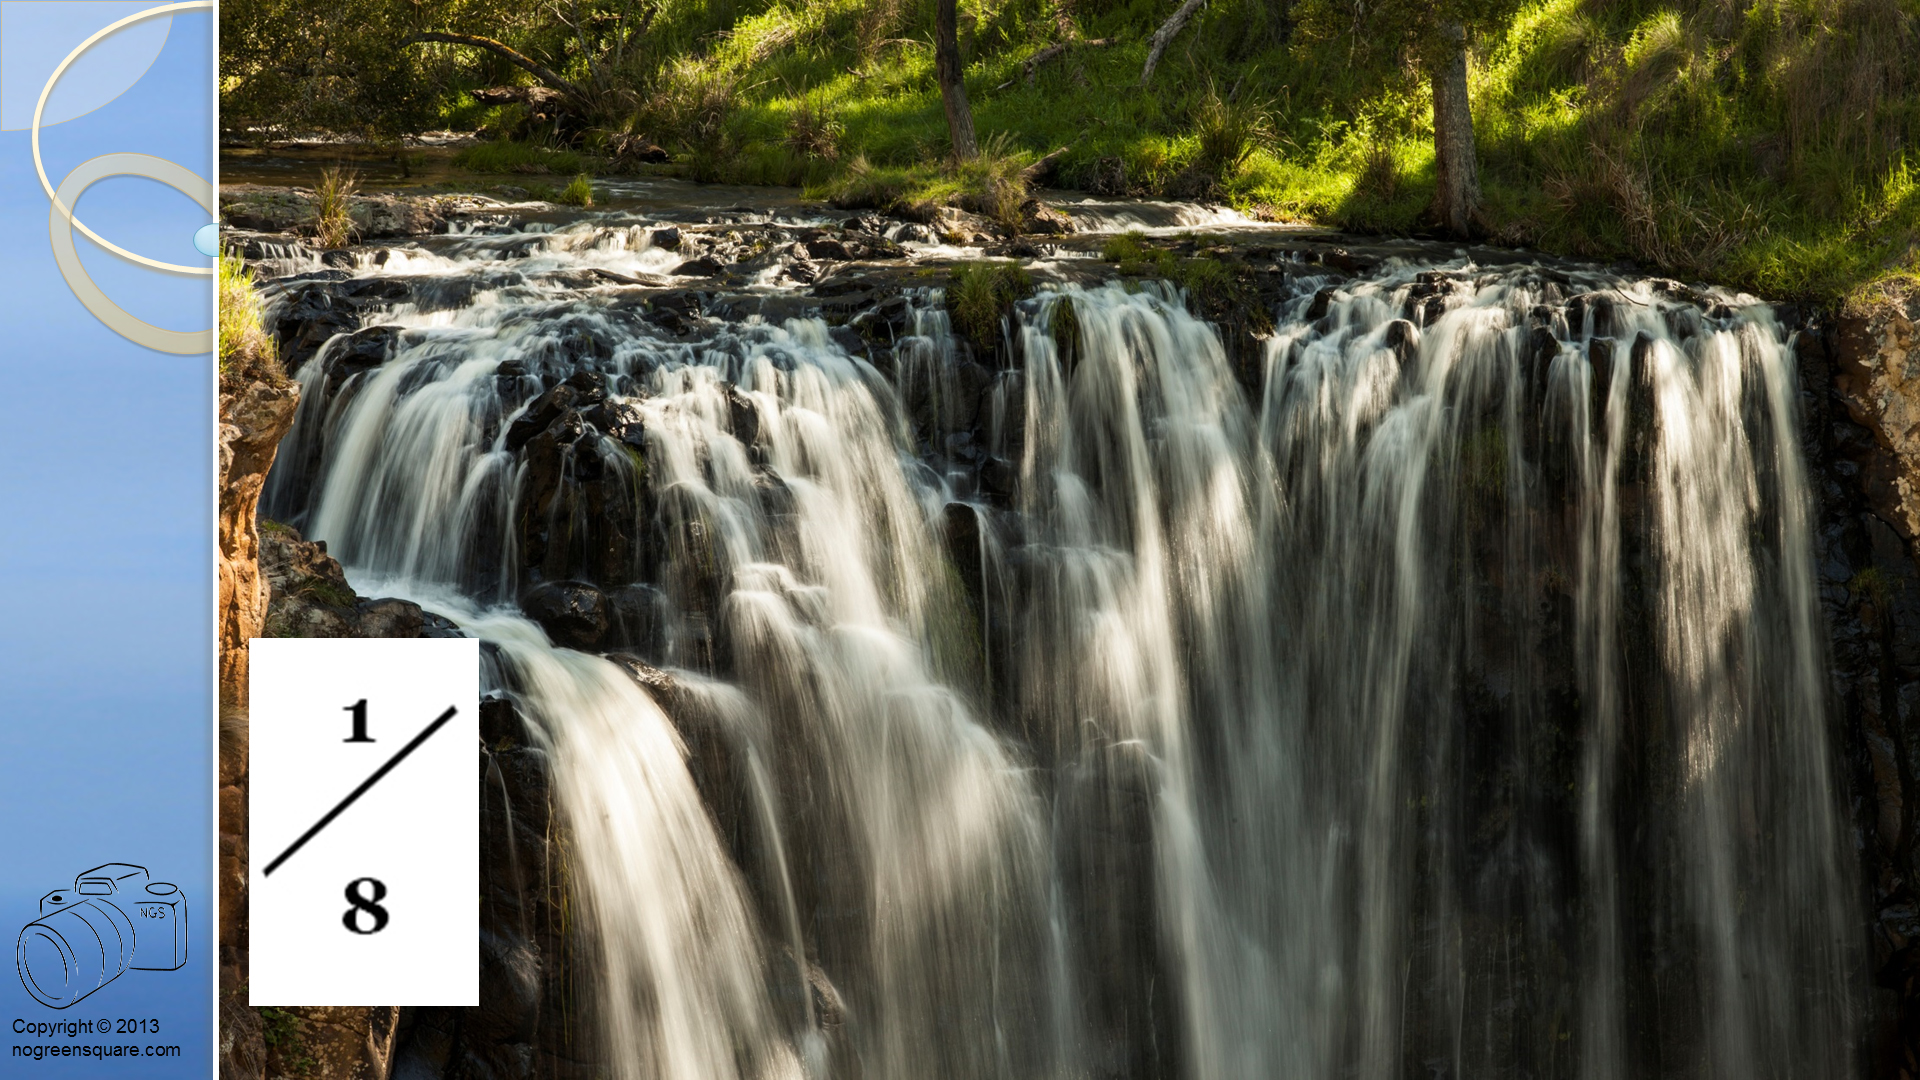
 You can see in this picture that everything is blurry. This is a result of using too slow a shutter speed and the camera moving while you take the picture. This is where an image stabilised lens could have helped keep the camera still enough to avoid the shake that is in this picture.
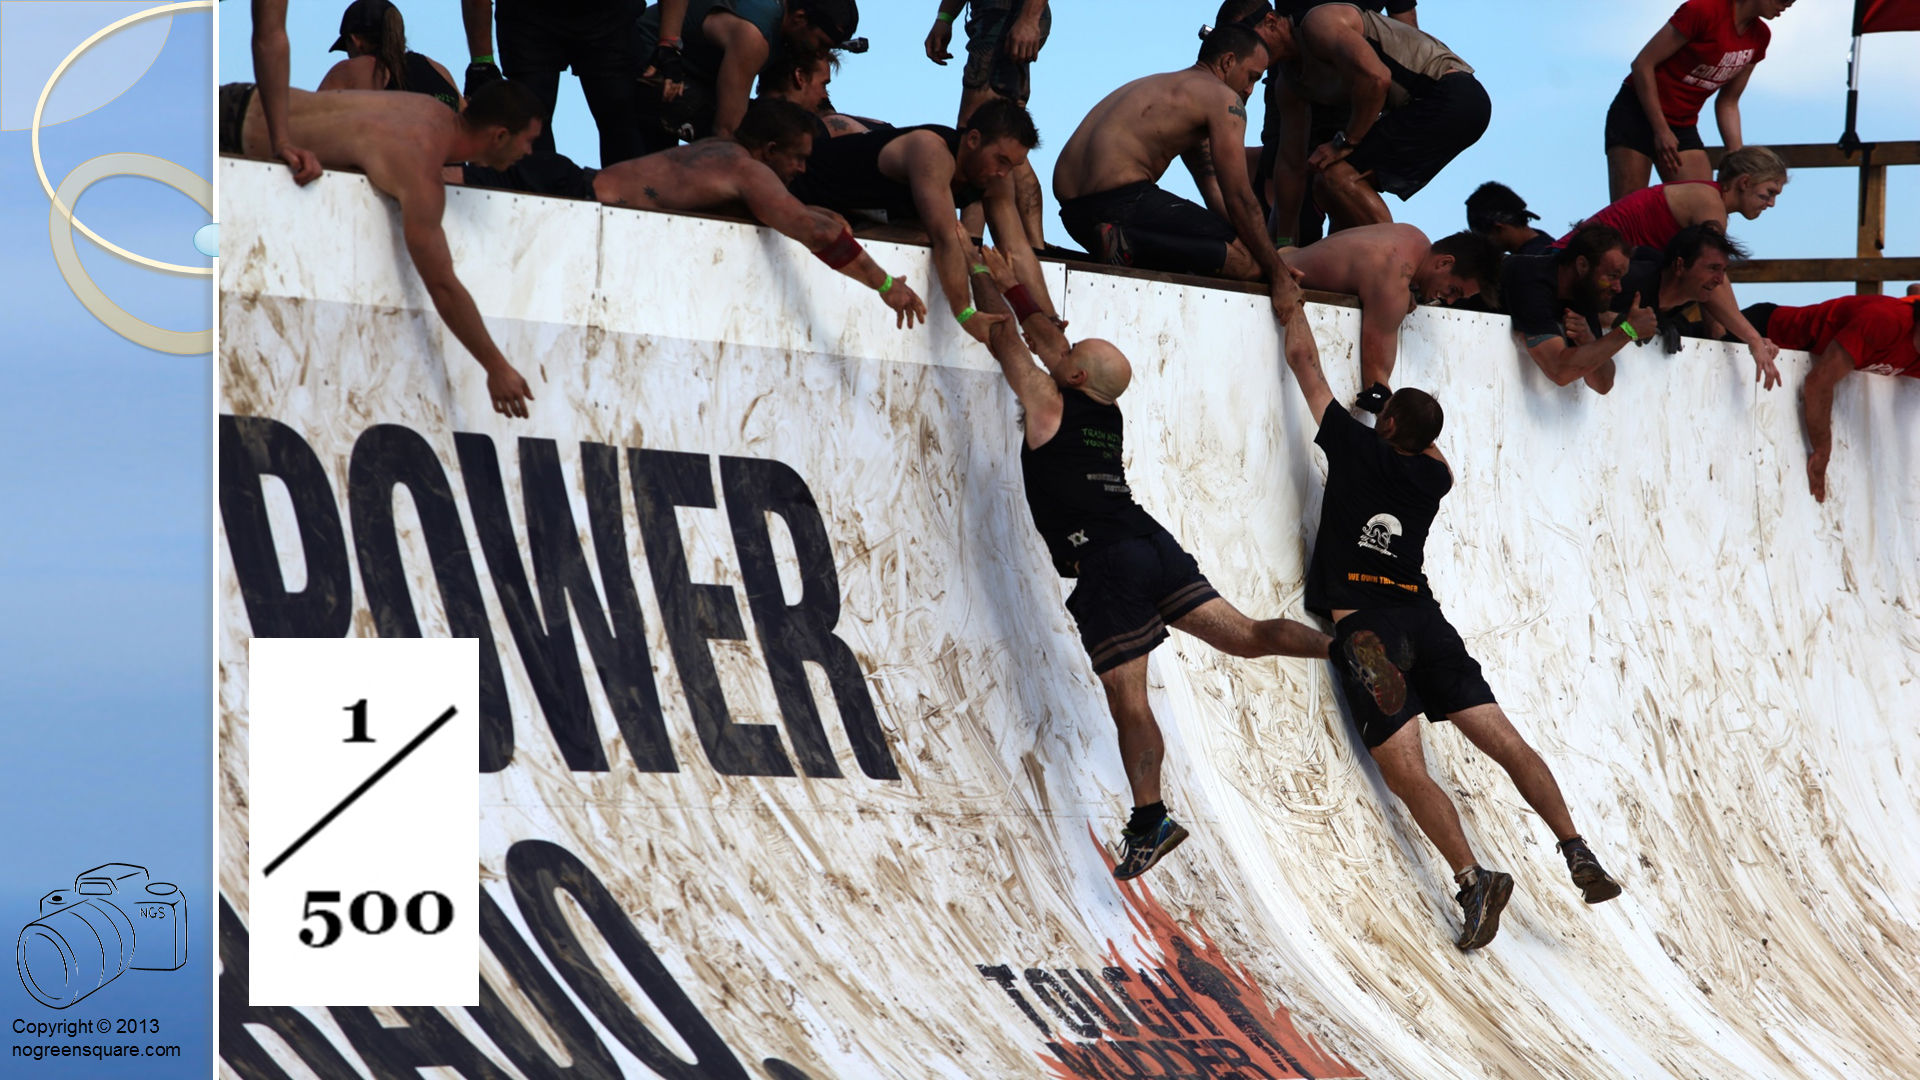
 In this image, even with a fast enough shutter speed to hold the camera still, the subject was moving and has been blurred. In this case an image stabilised lens would not have helped at all.
 Panning involves moving the lens with your subject while taking the picture, as you can see in the picture above, the rider was moving right to left, and I was moving the lens at the same speed as him right to left. Because of this movement and the slow shutter speed (1/60th) the background has blurred. An example of this style of IS is on the Canon 70-200 F4LIS. This lens stops the jarring in the direction of the panning and will help with slower shutter speed panning. This lens claims to have a 4 stop assistance.
 The above shot was taken on the Canon 100mm F2.8LIS Macro which has a hybrid image stabilisation. This works in both movements that are left / right and up / down, but also movements that are forward / backward. In the case of macro photography, when photographing very small things very close to them, the depth of field is very shallow, the smallest movement forward / backward can make the subject of your photo out of focus. As you can see in the following example.
 You can see that the frogs eye is not sharp in this photo, its slightly closer than the frogs eye. This would have been due to me moving slightly back as I was taking the picture. This was taken at F6.7 the depth of field at this distance and aperture is about 5mm.
Our Tip
If you are in the market for a new lens and you have the choice to buy with or without Image Stabilisation, make sure if you are buying it that you are buying it for the right reasons. If you have shaky hands and are having trouble with images where the whole image is blurry, then image stabilisation is most likely going to be best for you.


 I took the picture above in 2004 on a then new Canon 300D (using a 18-55 kit lens). The picture settings were F16 (aperture), 60 seconds (shutter speed), and ISO 100. I processed the image with the Canon Raw editing software supplied with the camera.
 I can now process that file with the latest Adobe Camera Raw Editor. You can see the many sliders and variables that can be used to adjust the look of the image. Please note that when you open the file, all the sliders are set to 0.
 In this image, I have moved the sliders, and the image has changed:


 Slow Shutter: the cars are so blurred they are not visible. All you can see is their headlights / tail lights.


 The picture above was taken in 2007 on a then new Canon 30D, the picture settings were Aperture F5.6 Shutter Speed 1.6 seconds and ISO 1250, the image to the left has been processed to look like it was taken on a 1000D at the same ISO, with newer technology that has better ISO, there is less noise.
 This picture was taken at 3200 at about 9.30 at night, the high number allowed me to take this picture where the only light available was moonlight. The Aperture was F2.8 and the shutter speed was 1/60th.
 This shot is a crop of the original shot to show the noise that was around with older cameras, this was taken on a Canon 300D, the settings were Aperture F3.5 Shutter speed 1/160th and ISO 1600, you can see the grain mostly in the darker areas of the image.
 I have reprocessed this image and reduced the noise but there is still a little evident. Newer cameras will do this for you in camera without the need for reprocessing.
 This image was taken in such a dark setting that the camera needed a torch to focus! The settings were Shutter speed 1/10th Aperture F4 and ISO 1600, the settings were used to bring out the background that was extremely dark, the couple were lit by two flashes.
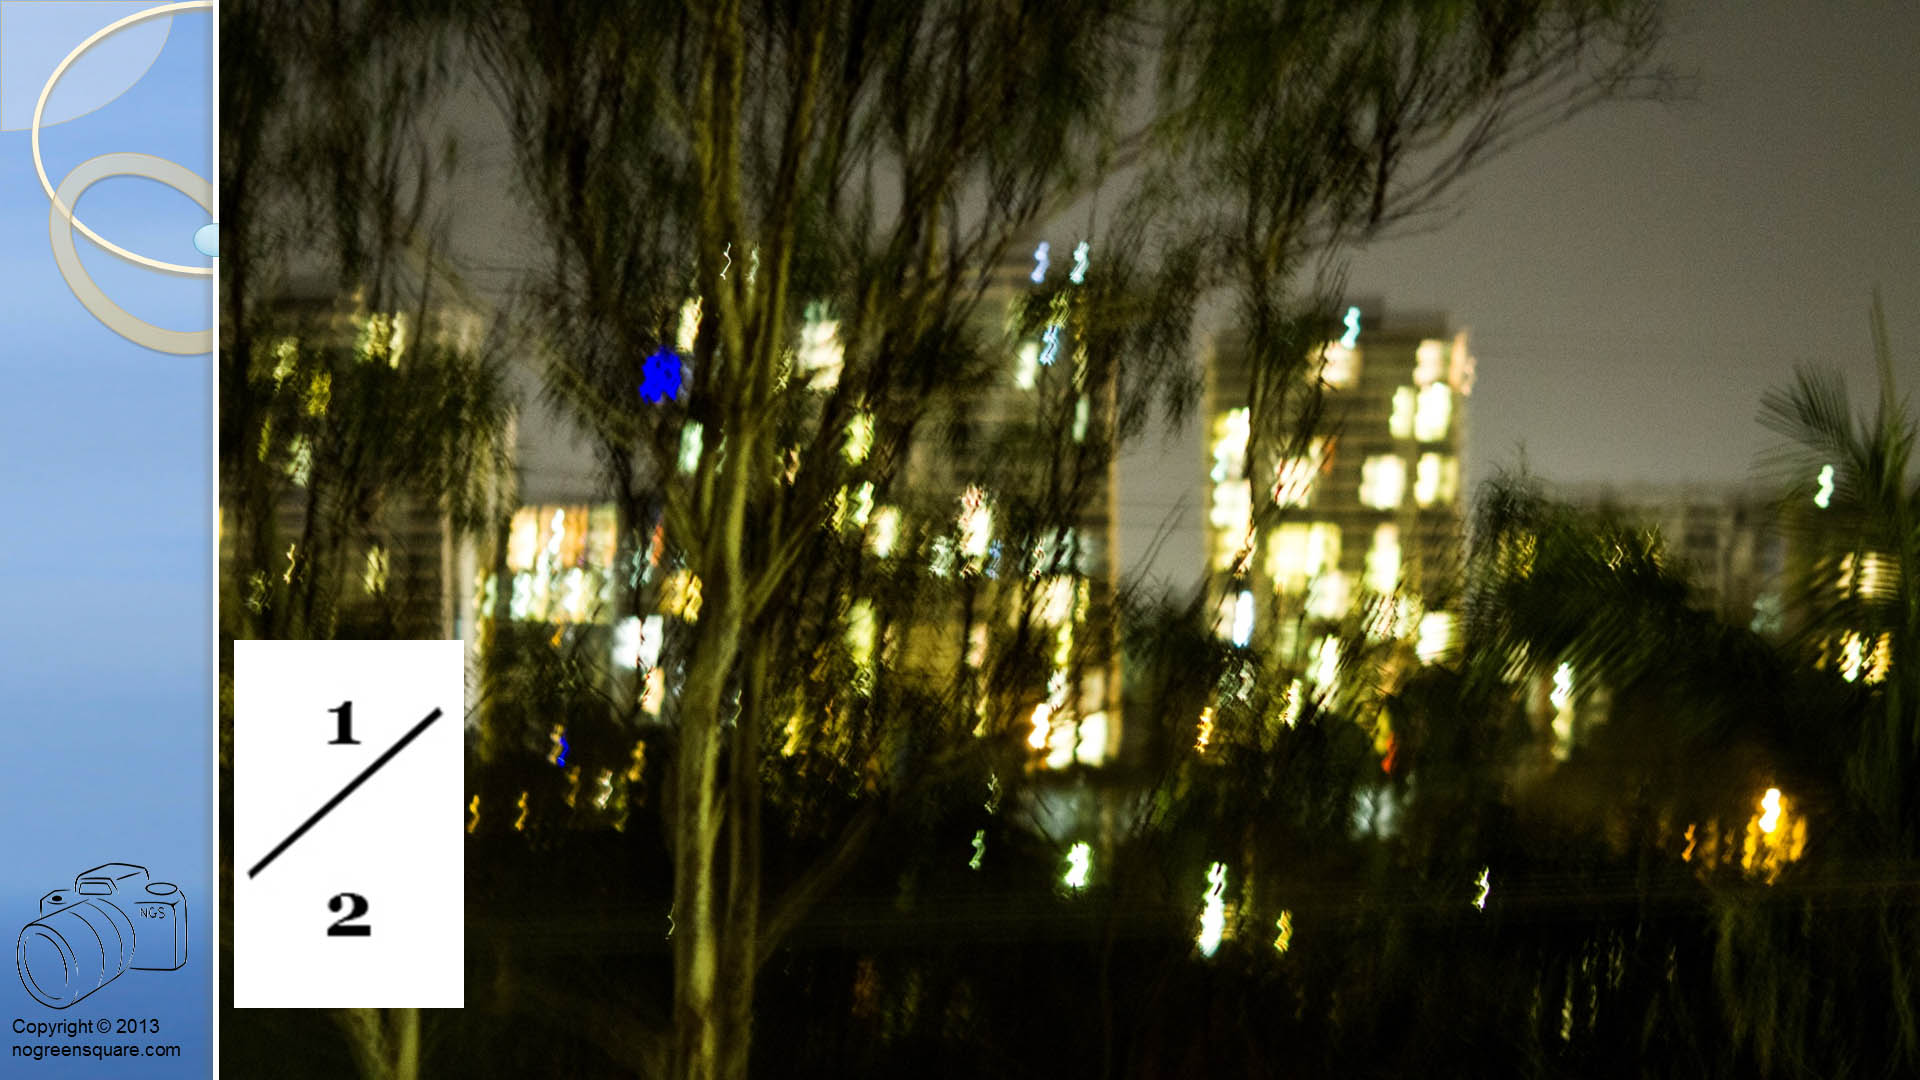