
The cost of a photo is not just the memory card it was taken on, nor is it just the cost of the model of camera and lens you are using. The true cost of a photo is more about the story behind the photo, the setup, the taking of it and the inevitable processing.
 Boat on Brienzsee, Ringgenberg; using a wide angle lens gives the mountain’s behind the boat some perspective.
If you were on a holiday, the cost of a picture could include the cost of the trip, added to the cost of the camera and so on. But what about your experience? By experience I am not meaning your holiday experience I am meaning the experience you have behind the camera – your abilities as a photographer.
 Flying Scotsman, Paris; the RAW processing of this image was made to look like it was taken in the same period that the car would have been new.
My experience is in motor sport photography, and my experience in that genre has made me aware of where incidents may happen or places that would make a great new angle. This allowed me to capture images that were different to the normal and would tell a different story, or show a facet of the sport that people had not seen before.
 Pimlico Tube Station, London; by taking this photo at 1/8th of a second, the train moving out of the station has been accentuated. By using the right balance of ISO and shutter speed I was able to hand hold the camera for this shot.
Over the years I have tried other genres of photography and I have come to the conclusion that a photographer that is good at their genre usually is an expert in that genre too. A surf photographer will be able to pick waves that a board rider will take, and know which surfer to follow as they have the best wave.
A landscape photographer will know what time of the year the best cloud formations appear over their subject and the placing of the sun to maximise the lighting, as you can’t move the mountains but the sun does shift over summer / winter.
Likewise a macro photographer will know that a dragonfly will come back to a perch it has sat on if it flies away, as long as you’re patient enough.
 Boats for hire, Lake Como; by using a tripod and a long shutter speed I have made the headlights of the cars drag.
So this knowledge is part of what makes up the cost of a photo. The other part of the cost, is knowing which lens to choose, which aperture to use, what the shutter speed will do to the mood of the image and so on, as you have seen from the examples above there is more to the picture than just pushing the shutter button.
 Flower bokeh, Rothenburg; by using a very small number aperture I have made the different flowers behind this poppy blend into the photo.
 Spiral staircase, Arc de Triomphe; by using a fisheye lens, the spiral of the staircase has been exaggerated.
 Dole Reflections, Dole, France; by using a HDR technique I have been able to capture all the detail in this scene.
This is what we are here to teach you!
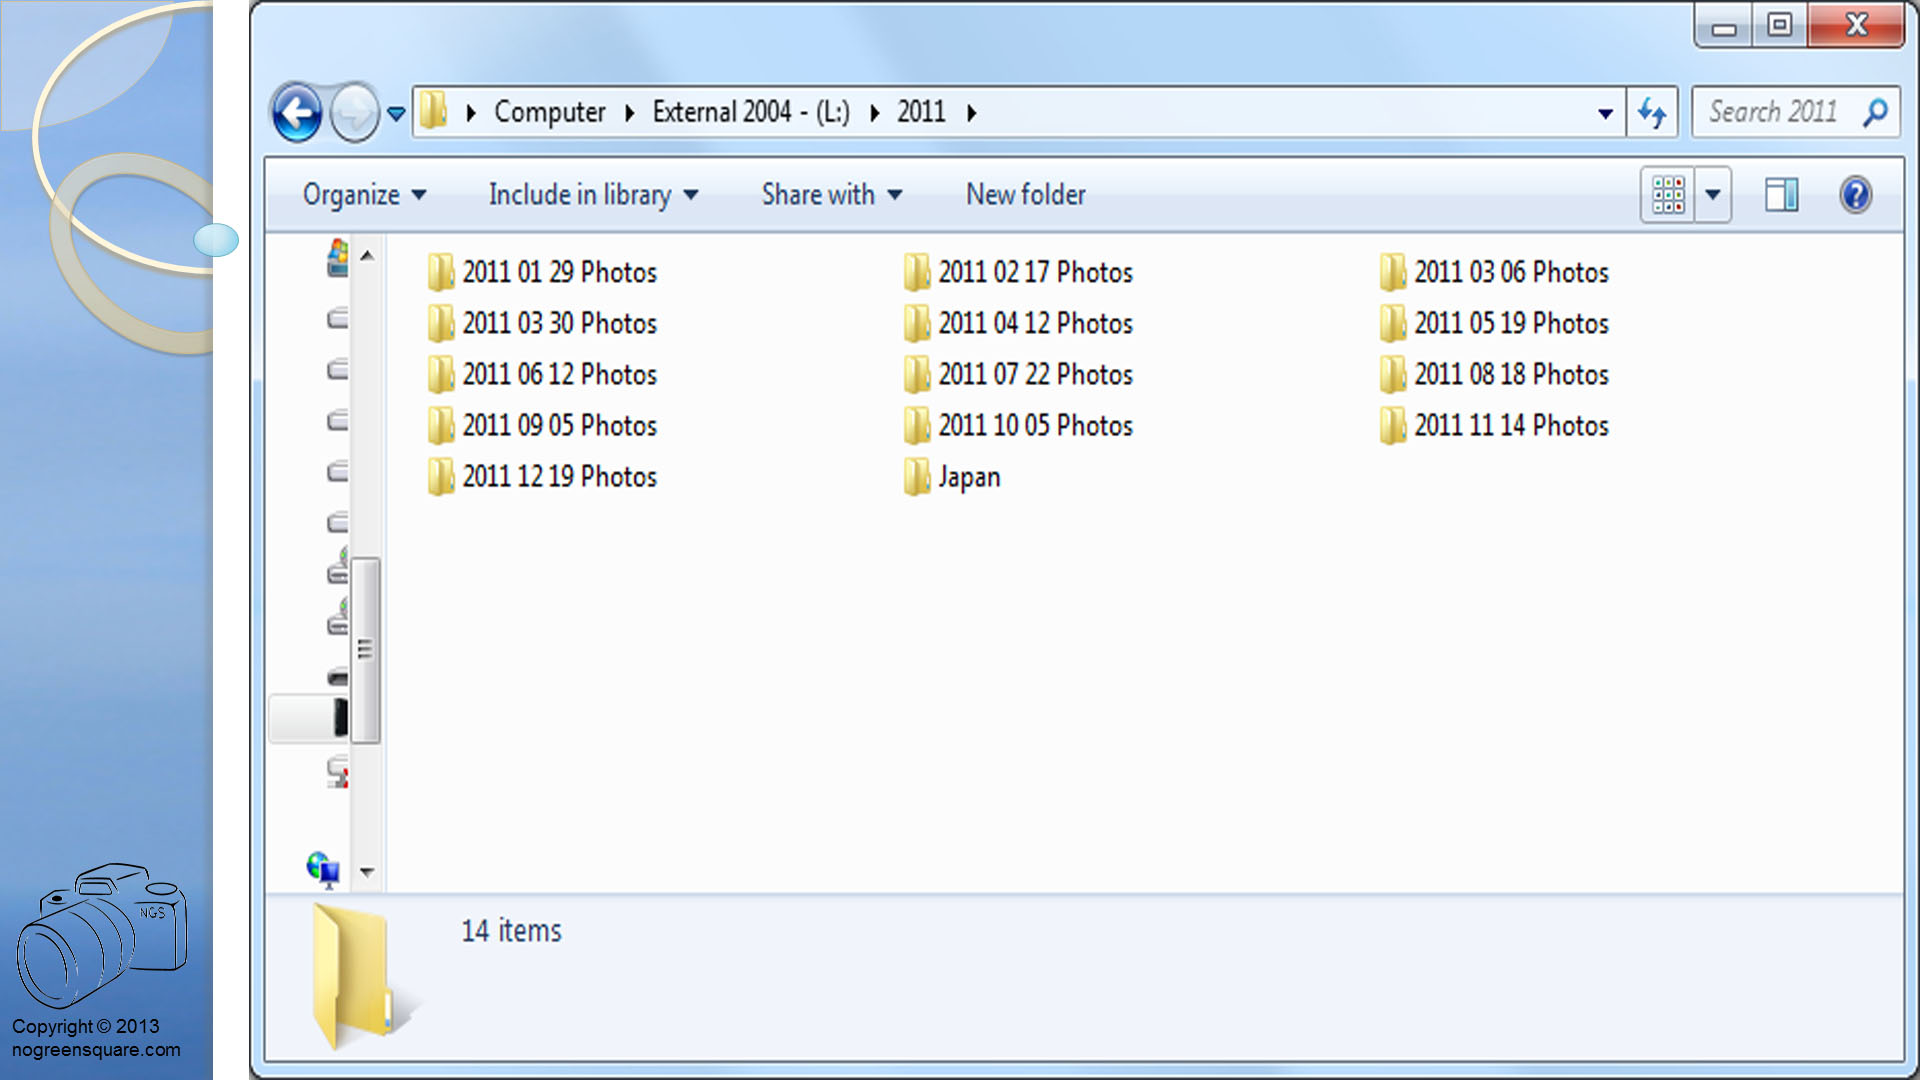
 This is my external drive structure. Each folder contains backups. My backups are manual and I usually backup after a major event or shoot.
 This is what the 2011 folder looks like. Each folder is named as per the day I did the backup.
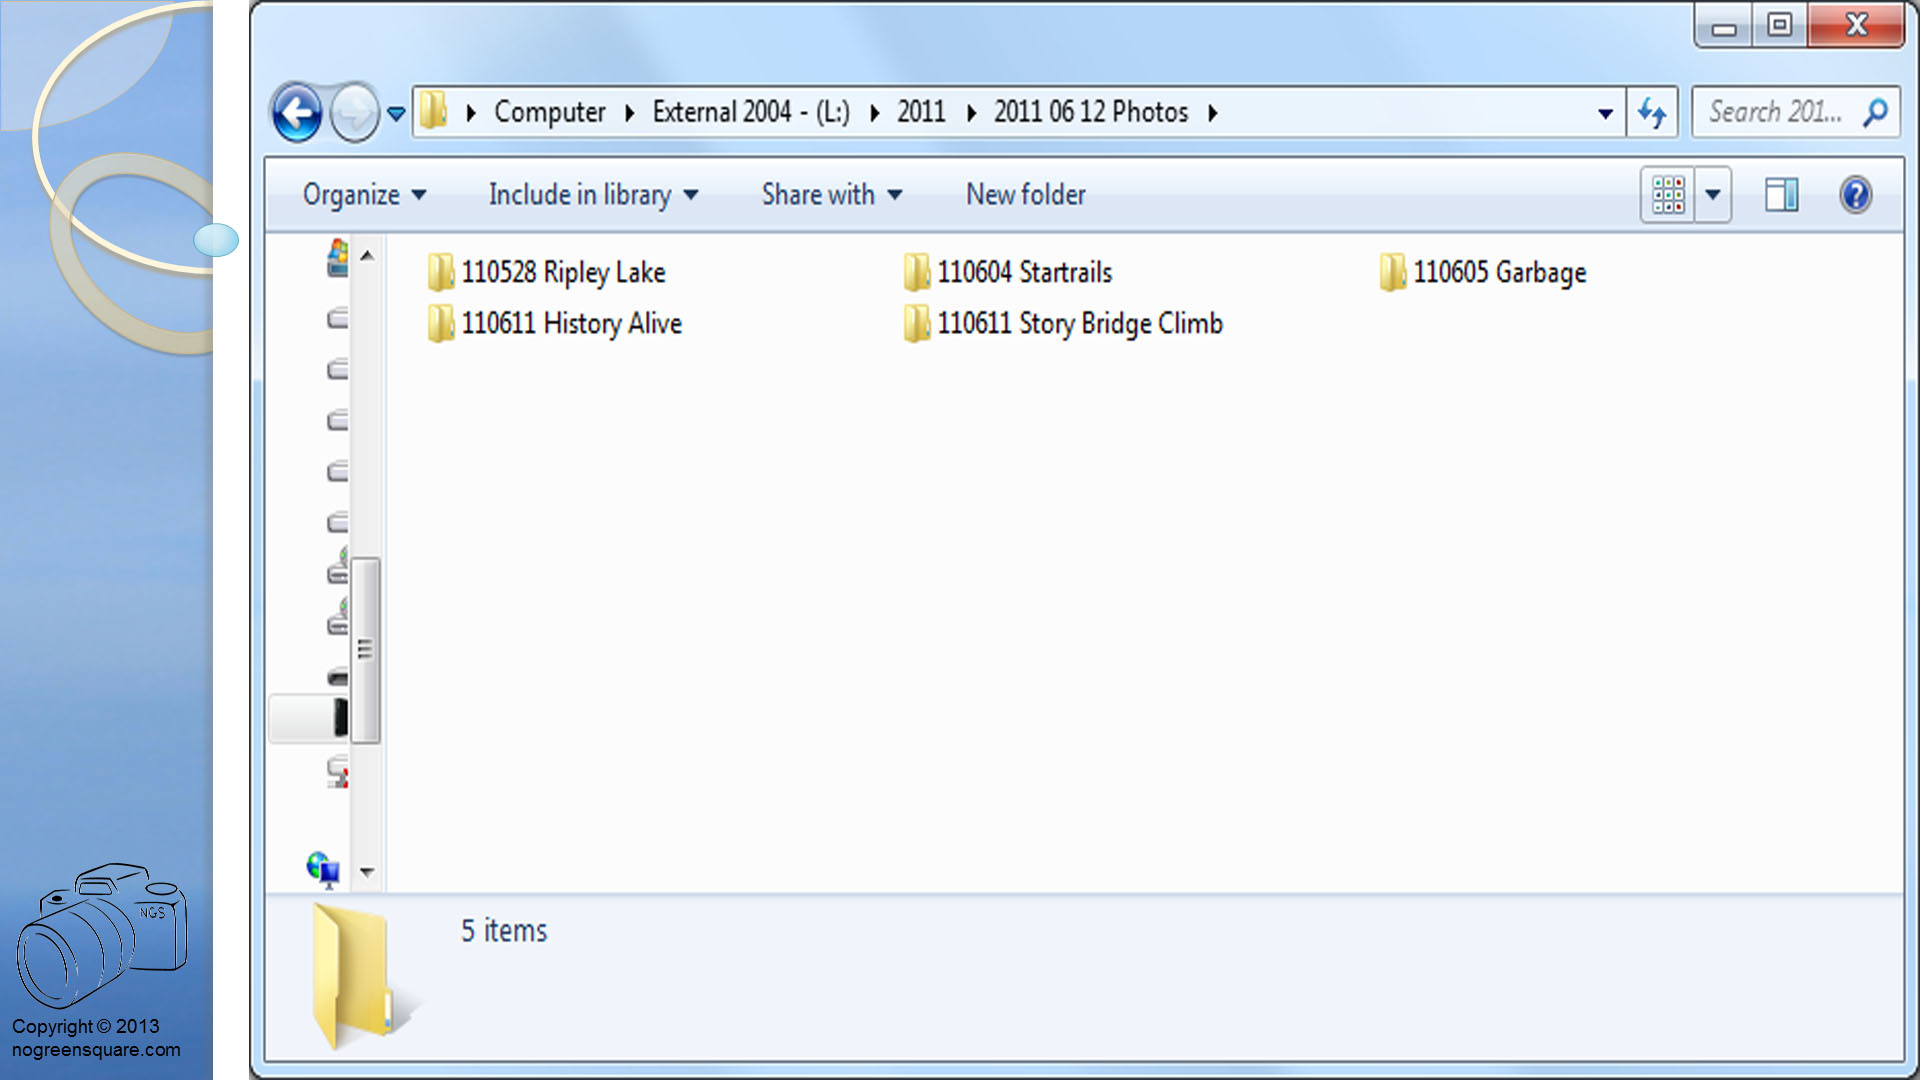
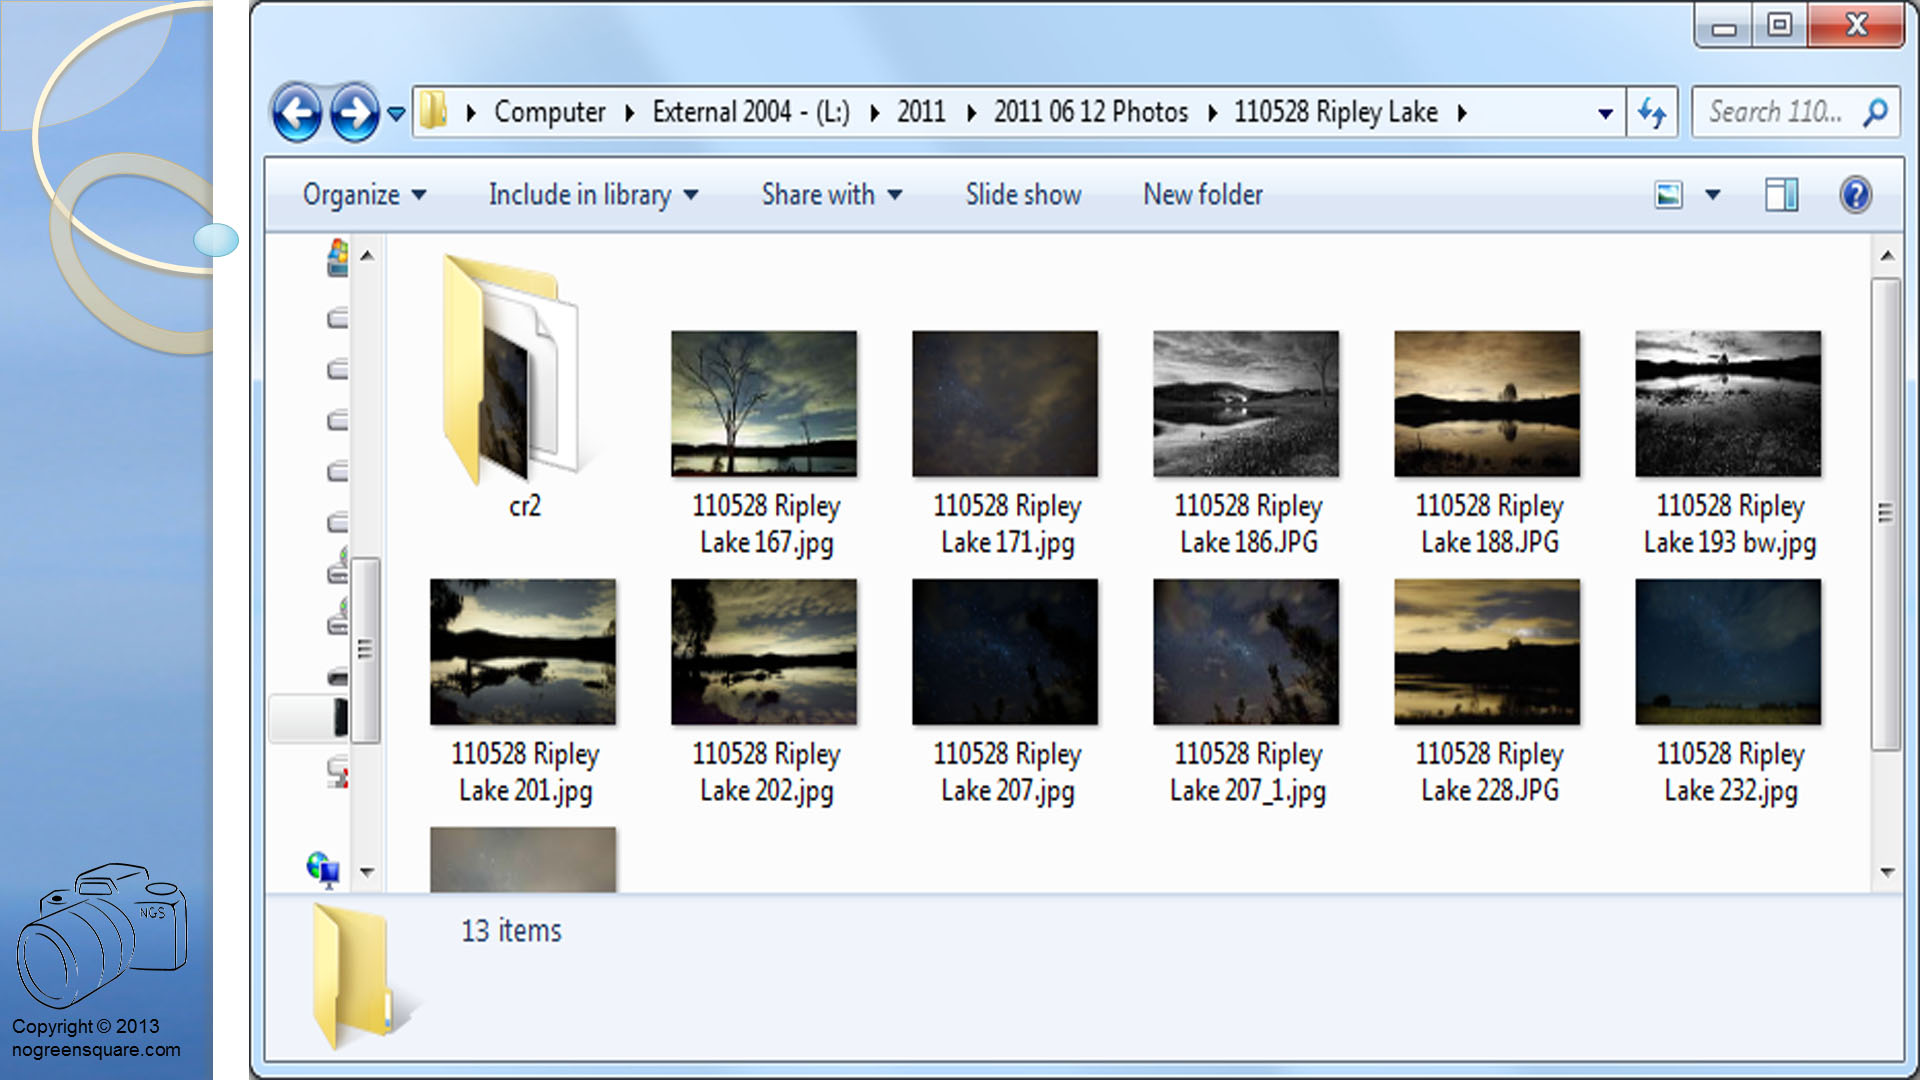
 If I open the 110528 Ripley Lake folder I will find the following jpgs each with the same file naming convention. And the RAW files are in the CR2 folder.
 I took the picture above in 2004 on a then new Canon 300D (using a 18-55 kit lens). The picture settings were F16 (aperture), 60 seconds (shutter speed), and ISO 100. I processed the image with the Canon Raw editing software supplied with the camera.
 I can now process that file with the latest Adobe Camera Raw Editor. You can see the many sliders and variables that can be used to adjust the look of the image. Please note that when you open the file, all the sliders are set to 0.
 In this image, I have moved the sliders, and the image has changed:
